
Ah, the allure of a traditional Russian blini recipe! Whether youre a culinary explorer or just a lover of pancakes, few dishes bring the rich texture and flavor profile of authentic Russian blinis. These delightful treats not only serve as a canvas for your favorite fillings but also connect us to a long history of Eastern European cuisine.
Just imagine those warm, golden blinis spread across your table, allowing you to entertain guests or indulge in a luxurious breakfast. As we dive into this recipe, well explore the essential steps, perfect ingredients, and the right cookware to make these tender Russian delights at home.

Ingredients for the Perfect Russian Blinis
- 2 cups of all-purpose flour
- 2 tablespoons of sugar
- 1 teaspoon of salt
- 2 eggs, beaten
- 2 cups of milk
- 2 tablespoons of butter, melted
- Cooking oil for frying
- Your choice of toppings: sour cream, jam, or caviar
Step-by-Step Blini Preparation
When it comes to prepping your blinis, you want to ensure that every step is conducted with the utmost care to achieve that perfect texture and taste signature of this traditional Russian blini recipe.
Begin by assembling your ingredients on a large cutting board (more on cutting board selection here). Use a large mixing bowl to sift together the flour, sugar, and salt. In another bowl, whisk the eggs and then slowly whisk in the milk until combined. Gently fold the wet ingredients into the dry mixture. Add the melted butter and mix until you have a smooth batter, being careful not to overmix.
Perfecting the Cook
Heat a frying pan over medium heat, adding a small amount of cooking oil to prevent sticking. Pour a spoonful of the batter onto the pan. Cook each blini for about 2-3 minutes on each side until golden brown. You can flip when bubbles start to appear and the edges look set (for more tips on using sturdy cookware, check this resource).
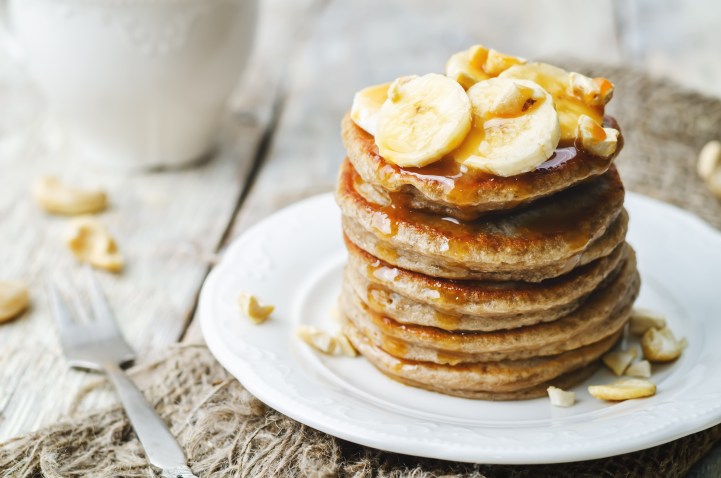
Time for Toppings
Once your blinis are ready, it is time to add your desired toppings. Popular Eastern European traditions include sour cream and caviar, though blinis are wonderfully versatilesuitable for sweet, savory, or both! Serve them warm for the best taste.
Choosing the Right Cookware and Care
Special pans dedicated to making blinis or pancakes can truly elevate the cooking experience. Consider investing in a non-stick pan specifically designed for this use. Further, maintain your tools effectively using a reliable cookware care kit.
Equally important is the care of your cutting board. Use a cutting board conditioner to ensure longevity.
A Brief History
Understanding the roots of the traditional Russian blini recipe sheds more light on its significance. Originally, blinis date back to ancient times as a symbol of the sun, celebrated during the pre-Lenten festival called Maslenitsa, also known as Butter Week. Today these thin pancakes are cherished across the globe.
This recipe brings to life the rich history of this beloved Russian dish, folding in flavors of tradition with each bite. For those who delight in pancakes but have yet to experience the bliss of homemade blini, remember to check traditional pancake variations.

Wrapping it Up
Crafting a traditional Russian blini recipe requires attention to detail and a love for authentic, delicious food. Each blini with its unique character carries history and warmth, inviting family and friends to gather and savor together. So, grab your apron, prepare your kitchen, and dive into the charming world of blinisa tradition rich in taste and heritage.
Should you wish to explore more, join our community of food enthusiasts yearning to cook, taste, and celebrate the diverse tapestry of global cuisines.
This article contains affiliate links. We may earn a commission at no extra cost to you.